Views: 0 Author: Site Editor Publish Time: 2026-07-01 Origin: Site


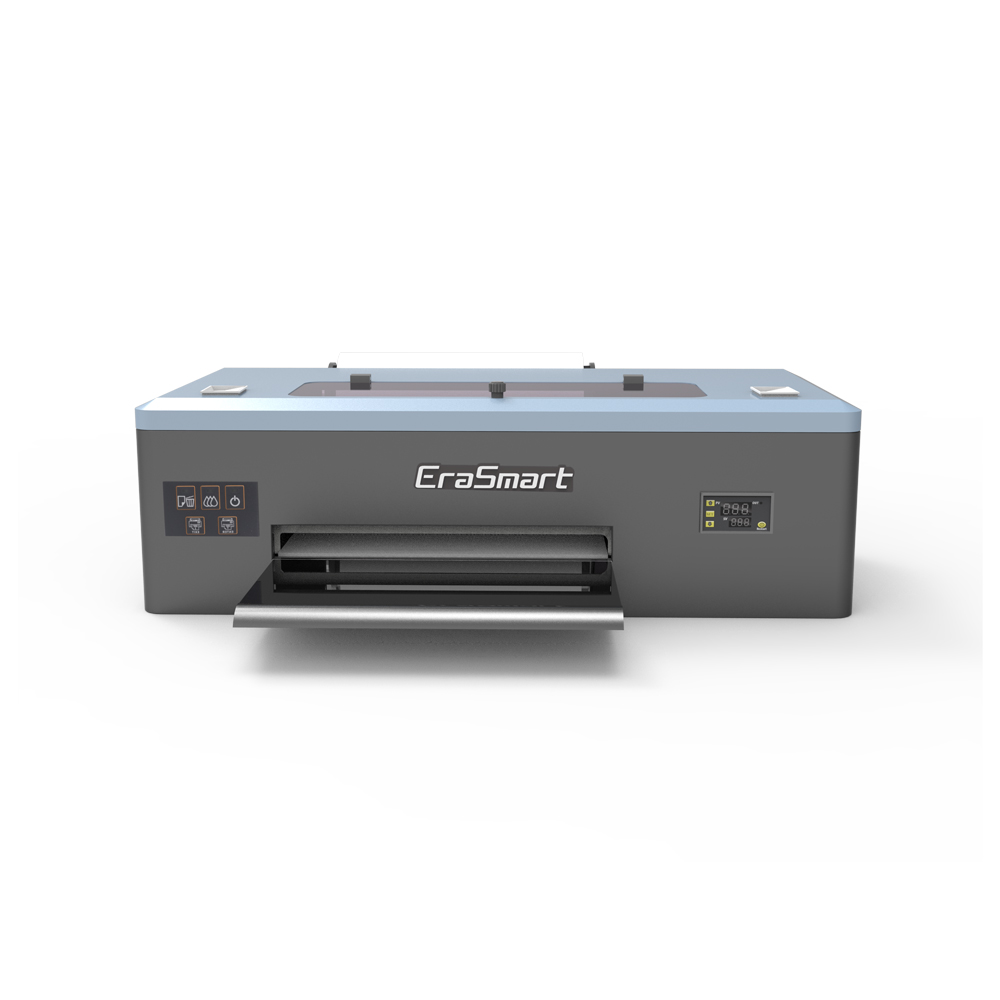
Transitioning to in-house apparel decoration requires moving past entry-level craft machines to commercial-grade hardware. Here, the margin for error shrinks significantly. Reliable equipment ensures you meet client demands consistently. For a dependable dtf printing machine for apparel, the A3 format offers the optimal balance of footprint and production capacity. However, you must configure the core components correctly to see these benefits.
Profitability in direct-to-film printing hinges on two critical variables. First, you must select the correct printhead configuration for your expected volume. Second, you need a stable, repeatable color setup. Poor configuration leads to ruined garments, wasted ink, and lost time. This guide strips away common marketing claims. You will learn to evaluate the technical realities of A3 hardware. We explore printhead architectures, white ink management, and the software tools required to achieve lasting success.
Hardware limitations: A single printhead DTF limits production speed and white ink opacity; dual-head setups are the commercial baseline for volume.
Component lifespan: Printheads are consumables. Factor a 6-to-12-month replacement cycle into your operational budget.
Color stability: Consistent output relies less on hardware resolution and more on RIP software capabilities and strict environmental controls.
Maintenance reality: Clogging is an operational inevitability; automated white ink circulation (WIMS) delays but does not eliminate manual maintenance requirements.
Stepping into commercial apparel decoration means reevaluating your equipment expectations. Operators often misunderstand what compact hardware can actually produce daily. We must separate theoretical maximums from realistic output metrics.
A standard 13-inch roll-fed machine delivers specific output constraints. You can typically expect 2 to 4 square meters of printed film per hour. This speed translates to roughly 30 to 50 left-chest logos per hour. Full back graphics reduce this number significantly. You must calculate your actual daily garment quota before purchasing.
Space requirements remain a major advantage. These machines fit comfortably on heavy-duty workbenches. You do not need a massive warehouse floor. However, you must account for the peripheral equipment. The shaker unit, curing oven, and fume extractor require additional dedicated space. Cramped workspaces lead to accidental bumps, film misalignment, and safety hazards.
You need to assess how this equipment fits your specific operational model. An A3 unit excels in a high-mix, low-volume environment. It handles rapid design changes effortlessly. If your brand drops limited daily runs, this format works perfectly.
Consider your growth trajectory carefully. A reliable t-shirt transfer printer in this size class reaches its limit quickly during holiday rushes. If your output demands consistently exceed 100 large garments daily, you face a bottleneck. At that threshold, upgrading to a 24-inch industrial unit becomes necessary. Pushing a compact machine past its duty cycle accelerates wear and guarantees unplanned downtime.
Ignoring the time required for daily maintenance rituals.
Failing to account for film loading and unloading times.
Assuming theoretical print speeds apply to complex, high-resolution graphics.
The printhead acts as the engine of your machine. Its configuration dictates both your speed and the quality of your output. Understanding the physical mechanics prevents costly purchasing errors.
These systems utilize a modified approach. CMYK and White ink channels share one physical head. You will often see this in modified Epson L1800 units. The mechanism forces the machine to work twice as hard. It lays down the color layer first. Then, the film must retract, or the head must make a secondary pass to apply the white underbase.
This method severely limits production speed. The shared architecture also makes the head prone to channel cross-contamination. A single printhead DTF system serves best for low-volume tasks. It works well for prototyping or hobbyist transitions. Commercial operators find this configuration highly frustrating due to the frequent waiting periods.
Commercial viability begins with dual-head setups. These configurations dedicate one full head to CMYK colors. The second head handles only the white ink. This separation changes the entire workflow.
Dual heads enable simultaneous printing. The color head fires first, and the white head follows immediately behind it. This halves your print time. It also significantly improves the density of the white layer. A thicker, more consistent white underbase enhances wash fastness. Garment durability improves drastically when the underbase cures evenly.
Not all heads perform equally. The market relies heavily on specific models. You must understand their differences to set proper operational expectations.
Model Series | Target Application | Lifespan Expectancy | Drop Precision |
|---|---|---|---|
XP600 / F1080 | Entry-level commercial | 3 to 6 months | Moderate (approx. 3.5pl) |
i3200-A1 | Industrial standard | 9 to 12 months | High (variable dot precision) |
The XP600 offers a lower replacement cost. This makes it attractive for beginners. However, it requires replacement much more frequently under heavy use. The i3200-A1 requires a higher initial investment. It rewards operators with superior drop precision and a much longer lifespan. Proper maintenance remains mandatory for both.
White ink acts as the foundation of your transfers. Its physical properties make it the most challenging variable in your workflow. Mastering ink management separates amateurs from professionals.
White ink contains titanium dioxide. This heavy pigment provides necessary opacity. However, gravity constantly pulls these particles downward. When the ink settles, it separates. This separation clogs dampers, lines, and nozzles instantly.
Hardware solutions tackle this settling issue in two ways. Mechanical stirring involves a paddle mixing the main tank. This helps, but it ignores the ink resting inside the lines. Active circulation changes the game. A White Ink Management System (WIMS) pumps ink continuously through the entire system. It pushes ink through the dampers and back to the tank. This constant motion prevents heavy particles from resting.
You must establish the correct ink load for your film. Too little white ink causes severe problems. The adhesive powder lacks a stable base to grip. This leads to dye migration from the garment. It also results in poor opacity, making your colors look dull on dark shirts.
Too much ink creates different disasters. Heavy pooling prevents proper curing in the oven. The powder melts unevenly. Once pressed onto a shirt, heavy ink creates a rigid, uncomfortable "hand feel." Your desktop DTF printer requires careful testing to find the optimal density percentage. Start at 60% white density and adjust based on wash tests.
A white outline ruins a professional graphic. This halo effect occurs when the white underbase bleeds past the CMYK layer. You fix this using choke settings.
Choke refers to intentional shrinkage applied via software. It pulls the edge of the white layer inward. A standard starting point is 1 to 2 pixels. Higher print resolutions might require a 3-pixel choke. This tiny adjustment ensures the white ink stays entirely hidden beneath the color layer.
Generic color profiles routinely fail. They cannot account for your specific shop environment. Consistent color requires a custom ICC profile.
An ICC profile maps out exactly how colors should mix. It accounts for your exact combination of ink brand, PET film coating, and curing temperature. Changing your film brand invalidates your current profile. Invest time in creating or purchasing custom profiles. They eliminate trial-and-error color matching and save massive amounts of ink.
Hardware represents only half of your operational capability. The software driving it determines your final output quality. You cannot achieve professional results using inadequate processing tools.
A high-quality A3 DTF printer relies on a Raster Image Processor (RIP). This software translates your digital design into physical ink drops. Industry standards like Cadlink Digital Factory or FlexiPrint offer essential controls. They manage ink flow, color rendering, and print queuing. Free or bundled software often lacks deep calibration tools. Upgrading your RIP immediately improves your hardware's performance.
Modern printheads utilize variable dot technology. Your software must support this feature to maximize its potential. Variable dot allows the head to fire different sizes of ink droplets.
Large drops fill solid areas quickly. Small drops handle fine details and sharp edges. This technology proves critical for smooth gradients. It prevents ink bleeding on fine text reproduction. Without variable dot control, gradients appear blocky and text loses its crispness.
Printing large, solid blocks of ink wastes money and ruins garment comfort. Your software provides tools to fix this. Knockout features automatically remove black backgrounds from your design. The software utilizes the black color of the target garment instead. This eliminates an entire layer of thick ink.
Rasterization takes this further. It applies a pattern of tiny holes throughout solid color blocks. This technique drastically improves garment breathability. It creates a vintage look while reducing your ink consumption. Mastering these software features directly increases your profit margins on every shirt.
Always import high-resolution PNG or TIFF files.
Keep your software updated to utilize the latest driver improvements.
Save successful job templates to ensure repeatable results for returning clients.
Operating commercial printing hardware introduces specific facility requirements. Ignoring these demands guarantees equipment failure. You must prepare your workspace before the machine arrives.
Printheads demand strict climate control. You must maintain a relative humidity between 40% and 60%. The ambient temperature must remain between 68°F and 77°F (20°C-25°C).
Low humidity causes ink to dry directly inside the microscopic nozzles. High humidity prevents the ink from laying down properly on the film. Temperature fluctuations alter ink viscosity, causing misfires. Failure to maintain these environmental parameters often voids manufacturer warranties. Buy an accurate hygrometer and implement dedicated humidifiers.
Maintenance is non-negotiable. You must establish a rigid daily routine. Treating this hardware like a standard paper printer leads to immediate clogs.
Nozzle Checks: Print a diagnostic test every morning. Never start production without verifying a perfect nozzle check.
Capping Station Cleaning: Swab the edges of the capping station manually. Dried ink here breaks the vacuum seal, preventing proper head cleaning.
Wiper Blade Inspections: Check the rubber wiper blade daily. Replace it if you notice warping or severe buildup. A dirty wiper smears dried ink directly back into the printhead.
The powder application and melting process present distinct challenges. Melting adhesive powder releases volatile organic compounds (VOCs). These fumes pose health risks and compliance issues.
You cannot operate a curing oven in an unventilated room. Active extraction is mandatory. Evaluate systems utilizing both HEPA and Carbon filtration. Carbon scrubbers neutralize the chemical odors. HEPA filters catch the microscopic particulate matter. Ensure your exhaust system vents properly, maintaining a safe breathing environment for your operators.
Entering the apparel decoration market requires objective evaluation of hardware. Base your purchasing decision on RIP software compatibility, printhead replacement costs, and local vendor support. Never base your business plan solely on claimed maximum print speeds.
Before you finalize your investment in a custom clothing printer, take actionable steps. Request a live nozzle check video from your vendor. Ask them to process a sample print using your own specific artwork. This allows you to test the actual washability and color accuracy. Finally, ensure you budget for a minimum of two printhead replacements per year. Preparing for these realities ensures your production line remains profitable and stress-free.
A: It can serve as a proof-of-concept machine. However, the slow throughput creates bottlenecks. Frequent maintenance also limits scalability. Dual heads remain the recommended standard for commercial viability. They allow you to scale profitably and meet tight deadlines consistently.
A: Expect to replace printheads every 6 to 12 months. This timeline depends on the model, your maintenance routine, and daily production volume. An i3200 head lasts longer than an XP600 if maintained perfectly. Always treat printheads as standard operational consumables.
A: This indicates a misalignment in your software. It often results from an incorrect choke setting. Your RIP software controls this value. The white underbase must shrink slightly. This allows it to sit entirely beneath the CMYK layer. Adjust your choke setting by 1 to 2 pixels.
A: You cannot leave it idle without proper preparation. DTF ink settles rapidly. White ink poses the highest risk. Idle periods require specific steps. You must use capping station fluid. You also need power-on circulation cycles. Always perform rigorous nozzle checks before you resume production.


